
Table of Contents
ToggleA solid 3D printing guide can save hours of frustration and wasted filament. Whether someone wants to create custom parts, prototype ideas, or build fun projects at home, 3D printing offers exciting possibilities. The technology has become more affordable and accessible than ever. Entry-level printers now cost less than many smartphones, and the learning curve has flattened considerably.
This guide covers the fundamentals every beginner needs. It explains how 3D printing works, the types of printers available, essential materials, setup steps, and common fixes for typical problems. By the end, readers will have the knowledge to start their first print with confidence.
Key Takeaways
- A 3D printing guide helps beginners save time and avoid wasted filament by covering essential setup, materials, and troubleshooting.
- FDM printers are the most affordable and beginner-friendly option, while resin printers offer finer detail for specialized projects.
- PLA filament is ideal for beginners due to its low printing temperature, minimal warping, and ease of use.
- Proper bed leveling and first-layer adhesion are critical steps for successful 3D printing results.
- Common issues like stringing, warping, and under-extrusion can be fixed by adjusting slicer settings, cleaning the nozzle, or tightening belts.
- Start with simple test prints like a calibration cube to learn your printer’s behavior before tackling complex projects.
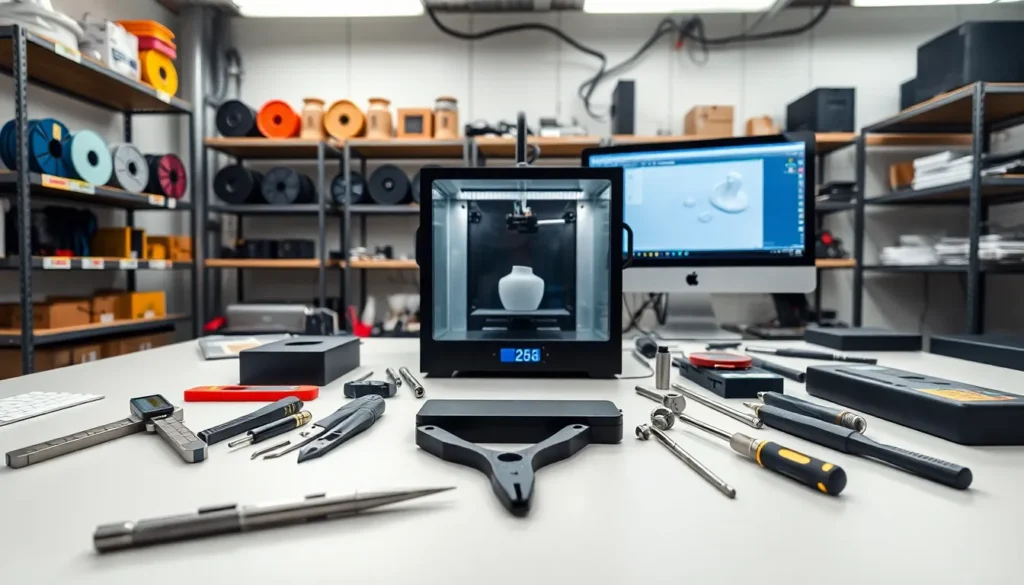
How 3D Printing Works
3D printing builds objects layer by layer from digital files. The process starts with a 3D model, usually created in CAD software or downloaded from online repositories like Thingiverse or Printables. This model gets converted into instructions through slicing software, which divides the design into thin horizontal layers.
The printer reads these instructions and deposits material one layer at a time. Each layer fuses to the one below it. Over hours, or sometimes days for large prints, a complete object emerges from what started as a digital concept.
The most common 3D printing method for home users is Fused Deposition Modeling (FDM). An FDM printer heats plastic filament until it melts, then extrudes it through a nozzle. The nozzle moves along X and Y axes while the build plate adjusts on the Z axis. This coordinated movement creates precise shapes.
Resin printing uses a different approach. A UV light source cures liquid resin layer by layer. This method produces finer details but requires more post-processing, including washing and additional curing. Each 3D printing technology has strengths depending on the project requirements.
Types of 3D Printers for Beginners and Professionals
Choosing the right printer depends on budget, intended use, and experience level. Here’s a breakdown of the main categories:
FDM Printers
FDM printers dominate the consumer market. They’re affordable, easy to maintain, and use inexpensive materials. Popular beginner options include the Creality Ender 3 series and Prusa Mini. These machines handle everyday printing tasks well, phone cases, replacement parts, decorative items, and functional prototypes.
Professional FDM printers offer larger build volumes, enclosed chambers for temperature control, and dual extruders for multi-material prints. Brands like Ultimaker and Raise3D serve this segment.
Resin Printers (SLA/MSLA)
Resin printers excel at fine details. Miniature figurines, jewelry, and dental models benefit from this technology. The Anycubic Photon and Elegoo Mars lines provide budget-friendly entry points. Professional resin printers from Formlabs and Phrozen offer industrial-grade precision.
Resin 3D printing requires ventilation and safety precautions. Uncured resin irritates skin and releases fumes. Beginners should research proper handling before purchasing.
Industrial Options
Industrial 3D printing includes SLS (Selective Laser Sintering) and metal printing. These systems cost thousands to millions of dollars and serve manufacturing and aerospace applications. Most hobbyists won’t need them, but they represent where the technology reaches its peak capabilities.
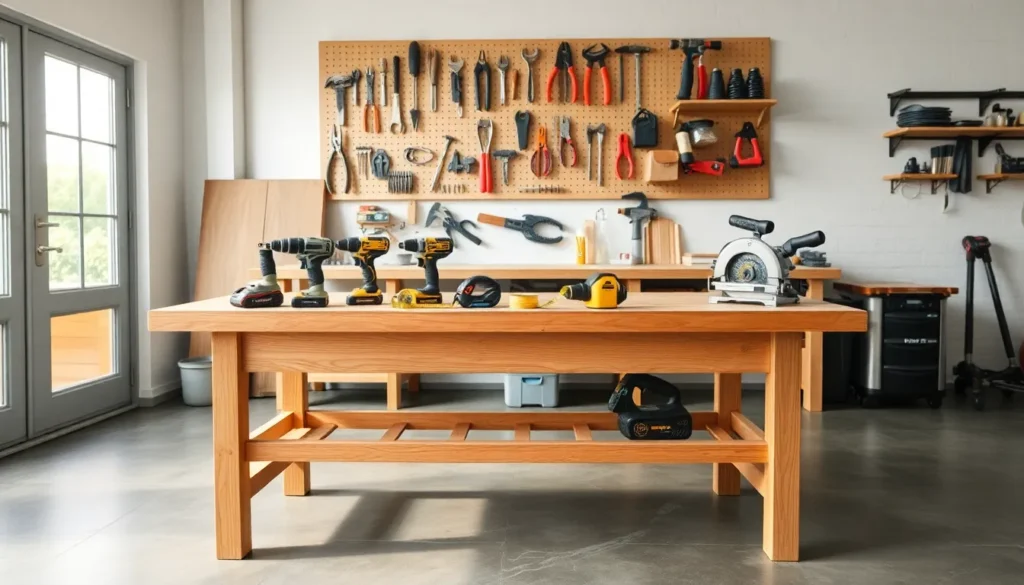
Essential Materials and Filaments
Material choice affects print quality, durability, and appearance. For FDM 3D printing, filament comes in spools of various diameters, 1.75mm is the standard for most consumer printers.
PLA (Polylactic Acid) remains the most popular filament. It prints at lower temperatures (190-220°C), produces minimal warping, and comes from renewable resources. PLA works great for decorative items and prototypes. But, it softens in heat and isn’t ideal for functional parts exposed to high temperatures.
PETG offers improved durability and temperature resistance. It prints slightly harder than PLA but handles drops and stress better. Many users choose PETG for practical objects like tool organizers and mechanical parts.
ABS has been around since early 3D printing days. It’s tough and heat-resistant but produces fumes and tends to warp. An enclosed printer helps manage ABS printing challenges.
TPU is flexible filament for phone cases, gaskets, and wearables. Printing TPU requires slower speeds and direct drive extruders work best.
For resin 3D printing, standard resins suit general purposes. Specialty resins include tough, flexible, castable, and water-washable variants. Each serves specific applications.
Setting Up Your First 3D Print
Getting that first successful print requires patience and attention to detail. Follow these steps:
1. Assemble and Level the Bed
Most printers require some assembly. Follow the manufacturer’s instructions carefully. Bed leveling is critical, an uneven surface causes adhesion failures. Many modern printers include auto-leveling, but manual leveling remains common on budget machines.
2. Install Slicing Software
Download slicing software like Cura, PrusaSlicer, or the manufacturer’s recommended program. Import the printer profile that matches your machine. This ensures correct settings for temperature, speed, and other parameters.
3. Choose a Test Model
Start simple. A calibration cube or benchy boat tests basic 3D printing performance without wasting much material. These models reveal issues with settings or hardware.
4. Load Filament
Heat the nozzle to the appropriate temperature for your filament. Feed the filament through the extruder until it flows smoothly from the nozzle. Some printers automate this process.
5. Slice and Transfer
Open your model in the slicer, adjust settings if needed, and export the G-code file. Transfer it to the printer via SD card, USB, or network connection.
6. Monitor the First Layers
Watch the initial layers closely. Good first-layer adhesion prevents failures later. The filament should squish slightly onto the bed without being too flattened or too round.
Common Troubleshooting Tips
Problems happen to everyone. Here are fixes for frequent 3D printing issues:
Prints Not Sticking to the Bed
Clean the build surface with isopropyl alcohol. Adjust the Z-offset so the nozzle sits closer to the bed. Try a glue stick or hairspray for extra adhesion. Ensure bed temperature matches filament requirements.
Stringing Between Parts
Retraction settings control this. Increase retraction distance and speed in the slicer. Lowering print temperature by 5-10°C often reduces stringing. Travel speed increases help too.
Layer Shifting
Loose belts cause layers to shift mid-print. Tighten them evenly. Check that the print head moves freely without obstruction. Overheating stepper motors can also skip steps, ensure adequate cooling.
Under-Extrusion
Partial clogs restrict filament flow. Perform a cold pull to clear debris from the nozzle. Check the filament path for kinks or tangles. Worn nozzles need replacement after extended use.
Warping
Parts lifting at corners indicates temperature issues. Use a heated bed and enclosure for warp-prone materials. Brims add surface area for better adhesion. PLA warps least: ABS warps most.
Patience and iteration solve most 3D printing problems. Each failed print teaches something valuable.