Table of Contents
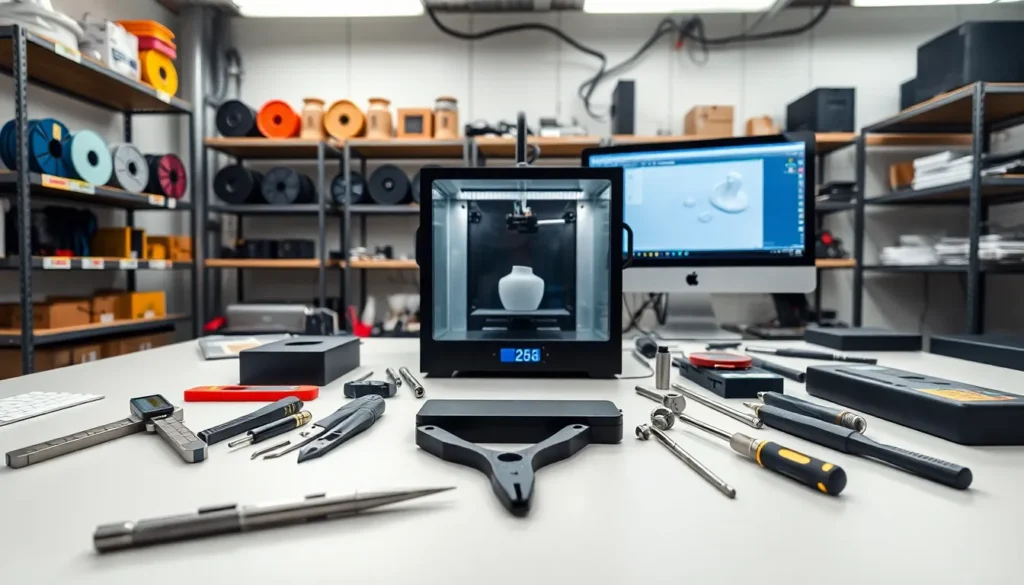
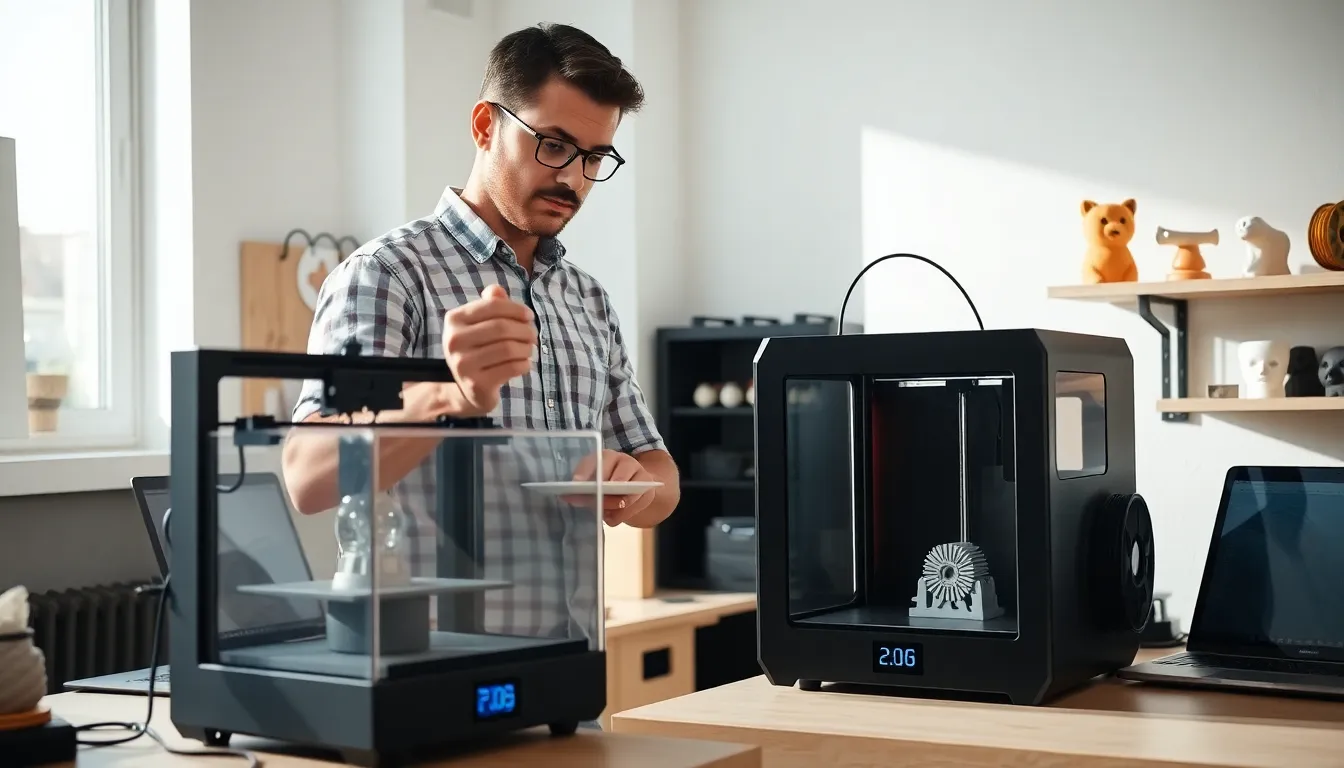
ToggleGood 3D printing tips can transform failed prints into flawless creations. Whether someone just unboxed their first printer or they’ve been at it for years, small adjustments often make the biggest difference. The gap between a warped, stringy mess and a clean, detailed model usually comes down to technique, not equipment.
This guide covers the essential 3D printing tips that actually matter. From bed preparation to temperature tuning, slicer optimization to maintenance routines, these practical techniques help makers get consistent, high-quality results. No expensive upgrades required.
Key Takeaways
- Proper bed preparation—leveling, cleaning, and matching surfaces to materials—prevents the most common 3D printing failures.
- Running temperature towers helps you find the exact settings where your filament performs best on your specific printer.
- Adjusting slicer settings like layer height, print speed, and retraction offers the most impactful 3D printing tips for quality improvements.
- Regular maintenance including lubricated rails, tensioned belts, and clean nozzles keeps prints consistent over time.
- Most print failures like stringing, warping, and layer separation can be fixed with small temperature and retraction adjustments.
- An enclosure—even a simple cardboard box—dramatically improves results for temperature-sensitive materials like ABS.
Prepare Your Print Bed Properly
Bed adhesion failures cause more wasted filament than any other problem. The first layer sets the foundation for everything above it. Get this wrong, and the print lifts, warps, or detaches mid-job.
Level the Bed Carefully
Manual bed leveling requires patience. Use a piece of standard printer paper between the nozzle and bed surface. The paper should slide with slight resistance, not too tight, not too loose. Check all four corners and the center. Repeat until consistent.
Printers with auto-leveling still benefit from occasional manual checks. Sensors drift over time. A quick paper test every few weeks catches problems early.
Clean the Surface Before Each Print
Oils from fingers, dust, and leftover residue kill adhesion. Wipe the bed with isopropyl alcohol (90% or higher works best) before starting. For glass beds, some makers swear by a light coating of glue stick or hairspray. PEI sheets usually need nothing but a clean surface.
Match Surface to Material
Different filaments stick better to different surfaces. PLA adheres well to glass, PEI, and BuildTak. PETG loves PEI but may bond too strongly, a light release agent helps. ABS needs heated beds around 100°C with proper surface prep. These 3D printing tips save hours of frustration when switching materials.
Dial In Your Temperature Settings
Temperature affects everything: layer adhesion, stringing, surface finish, and strength. Most filament spools list a recommended range, but the sweet spot varies by printer, environment, and even color.
Run Temperature Towers
A temperature tower test prints the same shape at different temperatures in one go. The results show exactly where a specific filament performs best on a specific machine. Most slicers have built-in scripts for this, or users can download pre-made models from Thingiverse or Printables.
Adjust Bed Temperature for Warping
When corners lift, increase bed temperature by 5°C increments. When prints stick too hard or develop elephant’s foot (flared bottom layers), reduce it. PLA typically runs between 50-60°C. ABS needs 90-110°C. PETG sits around 70-80°C.
Consider Ambient Conditions
Room temperature matters more than people realize. Cold workshops or drafty rooms cause cooling issues and layer separation. An enclosure helps maintain consistent temps, especially for ABS and other temperature-sensitive materials. Even a simple cardboard box improves results in winter months.
These 3D printing tips around temperature control prevent the majority of quality issues new makers encounter.
Optimize Your Slicer Settings
The slicer translates 3D models into instructions the printer understands. Default profiles work okay, but customization unlocks better results.
Adjust Layer Height for Purpose
Thicker layers (0.2-0.3mm) print faster and create stronger parts. Thinner layers (0.08-0.12mm) show finer detail and smoother surfaces. Match layer height to the job. Functional brackets don’t need museum-quality surfaces. Display pieces warrant extra time.
Control Print Speed Strategically
Slower speeds generally improve quality. First layers should run at 50% of normal speed for better adhesion. Outer walls benefit from slower speeds (30-40mm/s) while infill can run faster (60-80mm/s). This balances quality with print time.
Fine-Tune Retraction Settings
Stringing happens when melted filament oozes during travel moves. Retraction pulls filament back to prevent this. Start with 5-6mm retraction distance for Bowden setups, 1-2mm for direct drive. Retraction speed around 25-45mm/s works for most setups. Test and adjust, every printer differs.
Set Appropriate Infill
Infill percentage determines internal structure density. Decorative items need only 10-15%. Functional parts require 40-60% or more. Pattern matters too, grid and gyroid patterns offer good strength-to-material ratios.
Slicer optimization represents some of the most impactful 3D printing tips available. Small changes here yield dramatic improvements.
Maintain Your Printer Regularly
Printers need care to perform consistently. Skipping maintenance leads to gradual quality decline and eventual failures.
Keep Rails and Rods Lubricated
Linear rails and smooth rods accumulate dust and debris. Clean them monthly with a lint-free cloth. Apply light machine oil or PTFE lubricant. Lead screws benefit from lithium grease. Over-lubrication attracts dirt, so use sparingly.
Check Belt Tension
Loose belts cause layer shifting, ringing, and dimensional inaccuracy. Belts should feel firm when plucked, like a low bass note, not floppy. Most printers have tensioning screws or adjustable motor mounts. Tighten gradually and test.
Clear the Nozzle Regularly
Partial clogs cause under-extrusion, inconsistent flow, and failed prints. Cold pulls (also called atomic pulls) remove debris effectively. Heat the nozzle to printing temp, push filament through, cool to 90°C, then pull firmly. Repeat until the filament tip comes out clean.
Inspect and Replace Worn Parts
Nozzles wear out, especially with abrasive filaments like carbon fiber or glow-in-the-dark. Brass nozzles last 3-6 months with regular PLA use. PTFE tubes degrade at high temperatures. Extruder gears develop flat spots. Budget for consumables.
Consistent maintenance embodies the most overlooked 3D printing tips. Prevention beats troubleshooting every time.
Troubleshoot Common Print Failures
Even experienced makers face print failures. Knowing the symptoms and fixes saves time and material.
First Layer Won’t Stick
Causes include improper bed leveling, dirty surfaces, incorrect Z-offset, or wrong bed temperature. Re-level the bed first. Clean with alcohol. Adjust Z-offset in small increments (0.02mm). Increase bed temp by 5°C. Add adhesion helpers like brims or rafts for tricky prints.
Stringing Between Parts
Excessive stringing points to retraction issues or high temperatures. Lower nozzle temperature by 5-10°C. Increase retraction distance and speed. Enable “combing” or “avoid printed parts” in slicer settings to minimize travel over open areas.
Layer Separation and Cracking
Layers not bonding indicates insufficient heat or cooling problems. Raise nozzle temperature. Reduce cooling fan speed, especially for the first few layers. ABS and other high-temp materials need enclosures to prevent rapid cooling.
Warping and Curling
Corners lifting from the bed result from uneven cooling and material shrinkage. Increase bed temperature. Use brims for better surface grip. Add an enclosure for temperature stability. Some makers apply blue painter’s tape or specialized bed coatings.
Under-Extrusion
Thin, weak walls and gaps between layers signal under-extrusion. Check for partial clogs. Verify filament diameter settings match actual filament. Increase flow rate by 2-5%. Ensure the extruder gear grips filament properly.
These 3D printing tips for troubleshooting address 90% of failures makers encounter.