Table of Contents
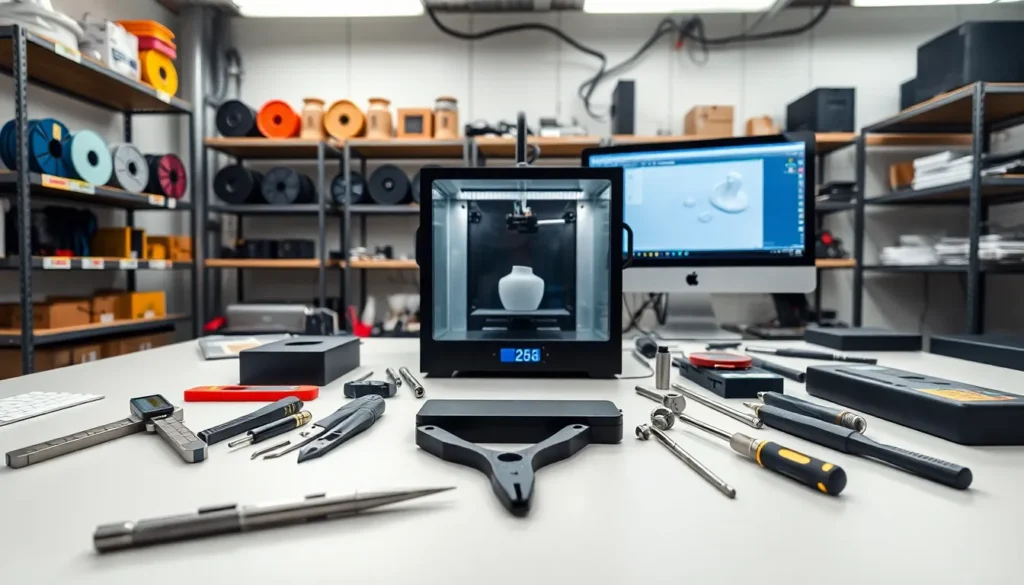
Toggle3D printing techniques have changed how products move from concept to reality. Whether someone needs a quick prototype or a final production part, these methods offer speed, flexibility, and precision that traditional manufacturing often can’t match.
This guide breaks down the most popular 3D printing techniques used today. It covers how each process works, what materials they use, and which applications suit them best. By the end, readers will know exactly which 3D printing technique fits their specific project needs.
Key Takeaways
- FDM is the most affordable 3D printing technique, ideal for prototypes and functional parts where surface finish is less critical.
- SLA and resin-based 3D printing techniques deliver the smoothest surfaces and finest details, making them perfect for jewelry, dental, and display models.
- SLS requires no support structures, enabling complex geometries and strong end-use parts from nylon and other advanced materials.
- Choose your 3D printing technique based on part purpose, required accuracy, material properties, quantity needed, and budget.
- Combining multiple 3D printing techniques throughout a project can optimize both cost and quality at different stages.
Fused Deposition Modeling (FDM)
Fused Deposition Modeling, or FDM, is the most common 3D printing technique on the market. It works by heating thermoplastic filament and extruding it layer by layer through a nozzle. The material cools and solidifies as each layer bonds to the one below it.
FDM printers use materials like PLA, ABS, PETG, and nylon. PLA is biodegradable and easy to print. ABS offers better heat resistance and durability. PETG combines the best qualities of both. Nylon provides excellent strength for functional parts.
Key Advantages of FDM
- Low cost: FDM printers and materials are affordable, making this 3D printing technique accessible to hobbyists and small businesses.
- Material variety: Users can choose from dozens of filament types with different properties.
- Large build volumes: Many FDM machines can print objects over 12 inches in each dimension.
Limitations to Consider
FDM parts show visible layer lines. Surface finish requires post-processing like sanding or chemical smoothing. Fine details under 0.5mm can be difficult to achieve. Support structures leave marks where they attach to the print.
This 3D printing technique works best for prototypes, jigs, fixtures, and functional parts where appearance matters less than function. Engineers use FDM daily for testing form and fit before committing to expensive tooling.
Stereolithography (SLA) and Resin Printing
Stereolithography uses ultraviolet light to cure liquid photopolymer resin into solid objects. A laser or LED array traces each layer’s pattern, hardening the resin precisely where the light hits. The build platform lifts after each layer, and the process repeats.
SLA produces the smoothest surfaces of any 3D printing technique. Layer heights can go as low as 25 microns, roughly a quarter the thickness of a human hair. This precision makes it ideal for detailed models, jewelry, dental applications, and master patterns for mold-making.
Types of Resin 3D Printing
- SLA (Stereolithography): Uses a single laser to trace patterns. Offers excellent accuracy.
- DLP (Digital Light Processing): Projects entire layers at once using a digital projector. Faster than SLA.
- MSLA (Masked SLA): Uses an LCD screen to mask UV light. Balances speed and cost effectively.
Material Options
Resin formulations have expanded dramatically. Standard resins work for display models. Engineering resins offer heat resistance and mechanical strength. Flexible resins mimic rubber. Castable resins burn out cleanly for investment casting. Dental and medical resins meet biocompatibility standards.
The Drawbacks
Resin 3D printing techniques require more post-processing. Parts need washing in isopropyl alcohol and additional UV curing. Resins cost more than FDM filaments. Build volumes tend to be smaller. Uncured resin requires careful handling due to skin sensitivity.
Even though these considerations, SLA remains the go-to 3D printing technique when surface quality and fine detail matter most.
Selective Laser Sintering (SLS)
Selective Laser Sintering uses a high-powered laser to fuse powdered material into solid parts. The printer spreads a thin layer of powder across the build area. The laser then traces the cross-section, melting particles together. The platform drops, more powder spreads, and the cycle continues.
This 3D printing technique stands out because it requires no support structures. The surrounding unfused powder holds parts in place during the build. This allows for complex geometries that other methods struggle to produce.
Materials Used in SLS
Nylon (PA11 and PA12) dominates SLS printing. These materials offer excellent mechanical properties, chemical resistance, and durability. Glass-filled nylons increase stiffness. Carbon-fiber-reinforced powders add strength with minimal weight. TPU powders create flexible, rubber-like parts.
Industrial Applications
SLS 3D printing techniques serve industries that demand functional end-use parts. Aerospace companies print lightweight brackets and ducting. Automotive manufacturers produce custom fixtures and small-batch components. Medical device companies create patient-specific surgical guides.
The parts come out with a slightly textite surface. Post-processing can include dyeing, smoothing, or coating. Unfused powder gets recycled into future builds, reducing material waste.
Cost Considerations
SLS machines carry high price tags, often $100,000 or more for industrial systems. Desktop SLS options have emerged around $10,000 to $25,000, bringing this 3D printing technique within reach of smaller operations. Per-part costs remain competitive for production runs where injection molding tooling doesn’t make financial sense.
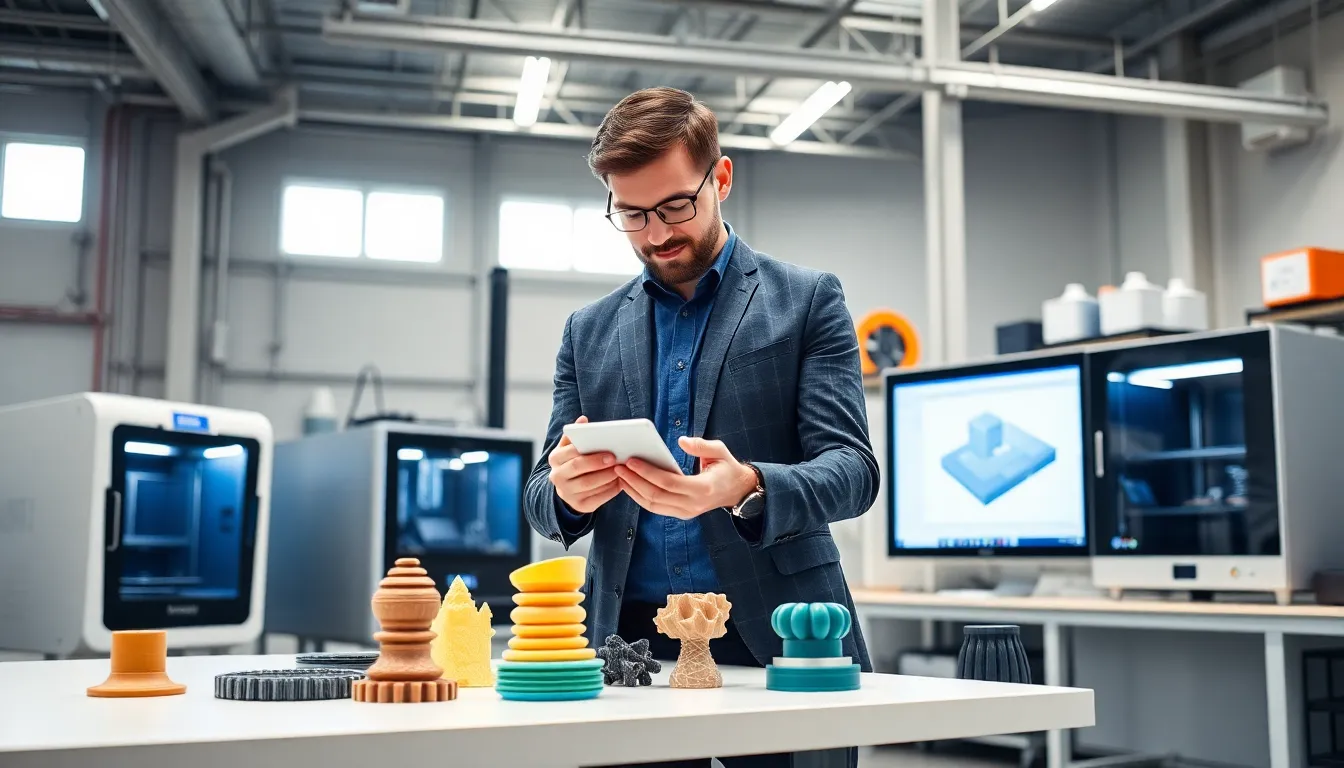
Choosing the Right Technique for Your Project
Selecting among 3D printing techniques depends on several factors. Project requirements should drive the decision, not assumptions about which technology seems most impressive.
Consider These Questions
- What’s the part’s purpose? Visual prototypes need surface quality. Functional parts need mechanical strength.
- What material properties matter? Heat resistance, flexibility, transparency, and chemical resistance narrow down options.
- What’s the required accuracy? Tight tolerances favor SLA. Less critical dimensions work fine with FDM.
- How many parts are needed? One-offs differ from production runs of 500 pieces.
- What’s the budget? FDM costs the least. SLA sits in the middle. SLS costs more but offers unique capabilities.
Quick Comparison
| Factor | FDM | SLA | SLS |
|---|---|---|---|
| Surface Finish | Visible layers | Smooth | Slightly textured |
| Material Strength | Good | Varies by resin | Excellent |
| Detail Resolution | Moderate | High | Good |
| Machine Cost | Low | Medium | High |
| Material Cost | Low | Medium | Medium-High |
Hybrid Approaches
Many projects benefit from using multiple 3D printing techniques. Teams might print rough prototypes with FDM, then switch to SLA for client presentations. Production might use SLS while design iteration continues on cheaper methods.
The best 3D printing technique is simply the one that meets project requirements at an acceptable cost and timeline.