
Table of Contents
Toggle3D printing for beginners can feel overwhelming at first. Thousands of printer options exist. Dozens of materials compete for attention. And the learning curve? It’s real, but shorter than most people expect.
Here’s the good news: anyone can learn 3D printing. The technology has matured significantly since its early days, and modern printers are more affordable and user-friendly than ever. Whether someone wants to create custom phone cases, replacement parts for appliances, or artistic sculptures, 3D printing opens doors that didn’t exist a decade ago.
This guide breaks down everything a beginner needs to know. It covers how 3D printing actually works, which printer types suit home use, what equipment to buy, and how to complete that exciting first print. It also addresses the mistakes nearly every new user makes, and how to sidestep them.
Key Takeaways
- 3D printing for beginners follows a simple core loop: design (or download) a model, slice it into printer instructions, and print.
- FDM printers are the best starting point for beginners due to lower costs ($150–$500), easier maintenance, and a gentler learning curve than resin printers.
- PLA filament is the ideal starter material because it prints at lower temperatures, resists warping, and costs only $15–$25 per spool.
- Always level your print bed properly—poor leveling is the most common cause of failed prints and adhesion issues.
- Start with simple test prints like the 3D Benchy before tackling complex projects to build skills and avoid frustration.
- Store filament in dry conditions with desiccant, as moisture absorption causes stringing, popping, and weak prints.
What Is 3D Printing and How Does It Work?
3D printing is an additive manufacturing process. It builds objects layer by layer from digital designs. Unlike traditional manufacturing that cuts material away, 3D printing adds material precisely where needed.
The process starts with a 3D model. Users can design these models in software like Tinkercad, Fusion 360, or Blender. Alternatively, they can download pre-made designs from sites like Thingiverse or Printables.
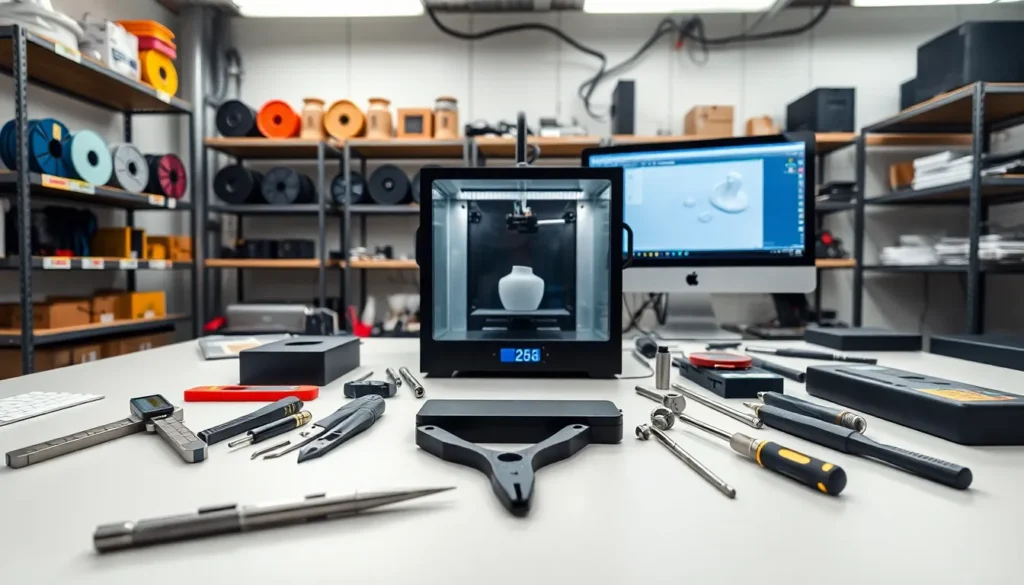
Once the model exists, slicing software converts it into instructions the printer understands. This software, programs like Cura or PrusaSlicer, divides the model into thin horizontal layers. It then generates G-code, which tells the printer exactly where to move and deposit material.
The printer reads this code and executes it. A heated nozzle melts plastic filament and deposits it on a build plate. Layer by layer, the object takes shape. Print times range from 30 minutes for simple items to 20+ hours for complex projects.
3D printing for beginners becomes easier once this basic workflow clicks. Design, slice, print. That’s the core loop.
Types of 3D Printers for Home Use
Two main technologies dominate home 3D printing: FDM and resin.
FDM Printers (Fused Deposition Modeling)
FDM printers melt plastic filament and extrude it through a nozzle. They’re the most popular choice for 3D printing for beginners. Here’s why:
- Lower upfront costs ($150–$500 for quality entry-level models)
- Easier to maintain and troubleshoot
- Larger build volumes available
- Less messy post-processing
- Cheaper materials
Popular beginner FDM printers include the Creality Ender 3 series, Anycubic Kobra, and Prusa Mini+. These machines offer reliable performance without very costly.
Resin Printers (SLA/MSLA)
Resin printers use UV light to cure liquid resin into solid objects. They produce incredibly detailed prints with smooth surfaces. Miniature hobbyists and jewelry designers often prefer them.
But, resin printing involves more cleanup. Prints require washing in isopropyl alcohol and additional UV curing. The liquid resin also demands careful handling and proper ventilation.
For most beginners starting their 3D printing journey, FDM offers the gentlest learning curve. Resin makes sense as a second printer once the basics are mastered.
Essential Equipment and Materials You Need
Beyond the printer itself, 3D printing for beginners requires several key items.
Filament: PLA (polylactic acid) is the ideal starter material. It prints at lower temperatures, doesn’t warp easily, and comes from renewable resources. A 1kg spool costs $15–$25 and prints dozens of small objects.
Build Surface Adhesion: Many printers include textured PEI sheets or glass beds. Some users add glue sticks or painter’s tape for better first-layer adhesion.
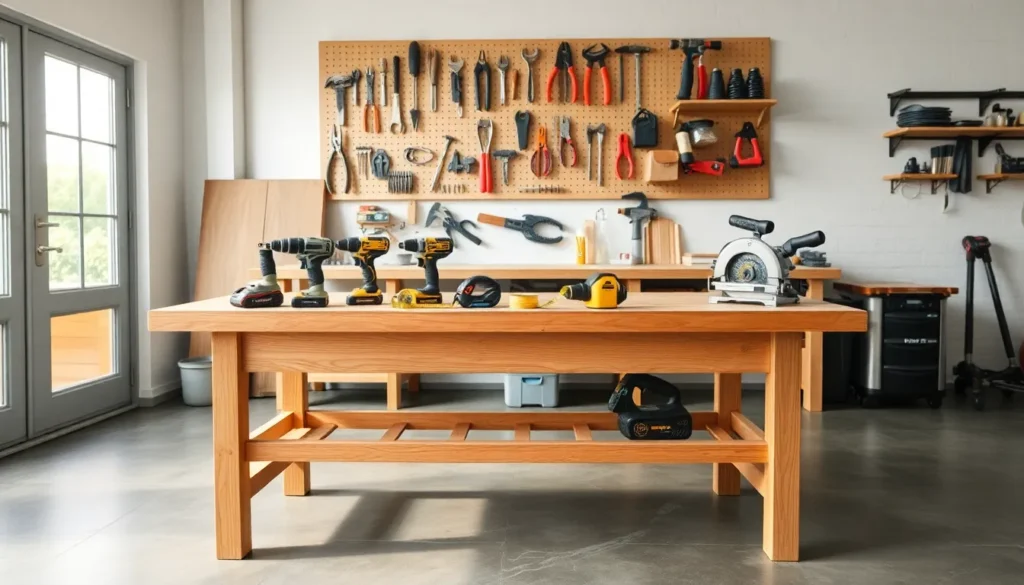
Basic Tools:
- Flush cutters for removing supports
- Spatula or scraper for print removal
- Needle-nose pliers for cleaning stringing
- Calipers for measuring prints
Computer and Software: Any modern computer handles slicing software. Most programs are free. Beginners should start with Cura, it’s powerful yet approachable.
Spare Parts: Keeping extra nozzles on hand prevents downtime. Nozzles wear out over time, especially with abrasive filaments.
Storage: Filament absorbs moisture from the air. Dry boxes or vacuum-sealed bags with desiccant keep spools in good condition.
Total investment for 3D printing beyond the printer typically runs $50–$100 for essentials.
Your First 3D Print: Step-by-Step Process
Ready to print? Here’s how 3D printing for beginners works in practice.
Step 1: Assemble and Level the Printer
Most entry-level printers arrive partially assembled. Follow the manufacturer’s instructions carefully. Then level the bed, this ensures the nozzle maintains consistent distance from the build surface. Many modern printers include auto-leveling features that simplify this process.
Step 2: Load Filament
Heat the nozzle to the filament’s recommended temperature (usually 200–210°C for PLA). Insert filament into the extruder until it flows smoothly from the nozzle.
Step 3: Choose a Test Model
Don’t design your own model yet. Download a simple calibration print or small test object. The classic “3D Benchy” boat tests multiple printing capabilities in one small print.
Step 4: Slice the Model
Open slicing software and import the model. Select your printer profile and filament type. For first prints, use default settings. Click “slice” and save the G-code file to an SD card or USB drive.
Step 5: Print
Insert the storage device into the printer. Select the file and start printing. Watch the first layer carefully, it’s the foundation for everything above it.
Step 6: Remove and Inspect
Once complete, let the print cool. Remove it from the bed. Trim any supports or stringing. Celebrate, the first print is always special.
Common Beginner Mistakes and How to Avoid Them
Every person learning 3D printing makes mistakes. Here are the most frequent ones and their fixes.
Skipping Bed Leveling
A poorly leveled bed causes adhesion failures, warped first layers, and failed prints. Check leveling regularly, even on printers with auto-leveling. The nozzle should be close enough to slightly squish the first layer.
Printing Too Fast
Speed kills quality. Beginners often crank up print speeds before understanding the tradeoffs. Slower speeds (40–50mm/s) produce better results while learning.
Ignoring Temperature Settings
Different filaments need different temperatures. PLA works at 190–220°C nozzle temperature. PETG needs 220–250°C. Always check the filament manufacturer’s recommendations.
Forgetting Supports
Overhangs beyond 45 degrees need support structures. Slicing software can generate these automatically. Without supports, gravity wins and prints fail.
Using Wet Filament
Filament absorbs humidity. Wet filament causes popping sounds, stringing, and weak prints. Store filament properly and dry it if problems appear.
Over-Complicating First Projects
Ambition is great. But attempting a 15-hour intricate print before mastering basics leads to frustration. Start small. Build skills gradually. 3D printing for beginners rewards patience.